Smartphone Screen Repair Guide: What They Don’t Tell You About Fixing Cracked Screens
I’ve broken exactly four smartphone screens in my life. The first one? Dropped my iPhone 7 face-down on concrete outside a coffee shop. The crack spiderwebbed across the entire display in about two seconds. That repair cost me $150 and three days without my phone.
The fourth time it happened (yeah, I’m clumsy), I fixed it myself for $35 and two hours of careful work. Turns out screen repair isn’t nearly as scary as the repair shops want you to believe.
Here’s what I learned breaking and fixing way too many phones.
Should You Even Try DIY Screen Repair?
Look, I’m not going to sugarcoat this. If you’ve never opened an electronic device before, your first screen replacement shouldn’t be on your daily driver phone. But if you’re comfortable with small screws and following instructions, it’s absolutely doable.
The real question is: does it make financial sense? I paid $35 for a replacement screen assembly for my Pixel 6a. The local repair shop quoted me $180. Google wanted $149 plus shipping. So yeah, for me it was worth the risk.
But here’s the thing nobody mentions upfront. Some phones are stupidly easy to repair. Others are basically glued shut nightmares. My old Samsung Galaxy S21? Six screws and some patience. My friend’s iPhone 12? That thing required a heat gun, specialized tools, and the kind of precision I usually reserve for debugging production code at 2 AM.
Know What You’re Dealing With: Screen Assessment
Before you order parts or grab tools, you need to figure out what’s actually broken. And this matters more than you’d think.
If your screen is cracked but the display still works perfectly, you probably just damaged the glass digitizer. That’s the best case scenario because replacement parts are cheaper and the repair is usually simpler.
Now if your screen is cracked AND you see weird colors, dead pixels, or black spots spreading across the display, you’ve damaged the LCD or OLED panel underneath. This means you need a full screen assembly replacement, which costs more but is actually easier to install since everything comes as one unit.
I learned this the hard way. My first repair attempt, I ordered just the glass digitizer for my old Galaxy S8. Spent three hours carefully separating it from the OLED panel. Destroyed the panel in the process because apparently you need a professional heating station to do that properly. Ended up buying the full assembly anyway and wasting a whole Saturday.
DIY vs. Professional: The Real Math
Everyone online acts like DIY is always the smart choice. It’s not. Sometimes paying someone else makes way more sense.
Consider professional repair if your phone is less than six months old and still under warranty (obviously), if you need your phone back within a day, if your model requires specialized equipment you don’t have, or if the price difference between DIY and professional is less than $50. That last one matters because your time has value too.
Go DIY if your phone is out of warranty anyway, if you’re comfortable taking things apart, if parts are readily available for your specific model, or if the cost difference is significant (like $100 or more).
For budget smartphones under $200, honestly just consider buying a new phone instead. I know that sounds wasteful, but if a screen repair costs $120 and you can get a refurbished model for $150, the math changes. Check out our guide on refurbished and second-hand smartphones before dropping money on repairs for an older device.
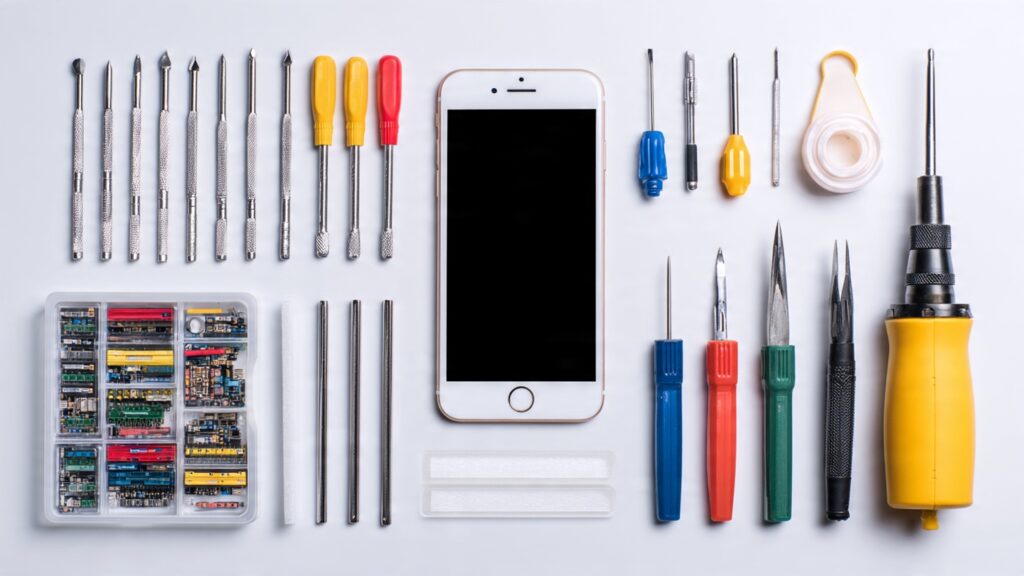
Tools You Actually Need
The internet will try to sell you $80 repair kits. You don’t need half that stuff.
Here’s what I actually used for my successful repairs. A precision screwdriver set with Phillips and Torx bits (get one with magnetic tips, trust me). Small plastic prying tools or old guitar picks work fine. A suction cup for lifting the screen. Tweezers for handling tiny screws and ribbon cables. A heat gun or hair dryer for softening adhesive. And replacement adhesive strips or B7000 glue for reassembly.
Total cost for decent tools if you’re starting from scratch? About $25 to $30 on Amazon. I’ve reused mine for three different repairs now, so they’ve paid for themselves.
One more thing. Get a magnetic project mat or use a piece of cardboard to organize screws. Different lengths go in different holes. Mix them up and you’ll either strip threads or end up with screws that don’t quite reach. Ask me how I know.
Where to Buy Replacement Parts (And Where Not To)
This is where most people screw up. You cannot just buy the cheapest screen on Amazon and expect it to work like the original.
I’ve had good luck with iFixit for both parts and guides. Yeah they’re pricier but the quality is consistent. Mobile Defenders is another solid option, especially for Samsung parts. Injured Gadgets has worked well for me on iPhone stuff.
Skip the random sellers on eBay with no ratings and suspiciously low prices. I bought a “genuine OEM” Pixel screen once for $20. It showed up with weird green tint issues and the touch response was garbage. Ended up ordering a proper one from iFixit for $35 and the difference was night and day.
Also pay attention to what you’re buying. Some sellers list “screen replacement” but only ship the glass and digitizer, not the full assembly. Others include the frame and tools. Read the description carefully. Check if it comes with adhesive strips. Look at actual customer photos in reviews, not just the stock images.
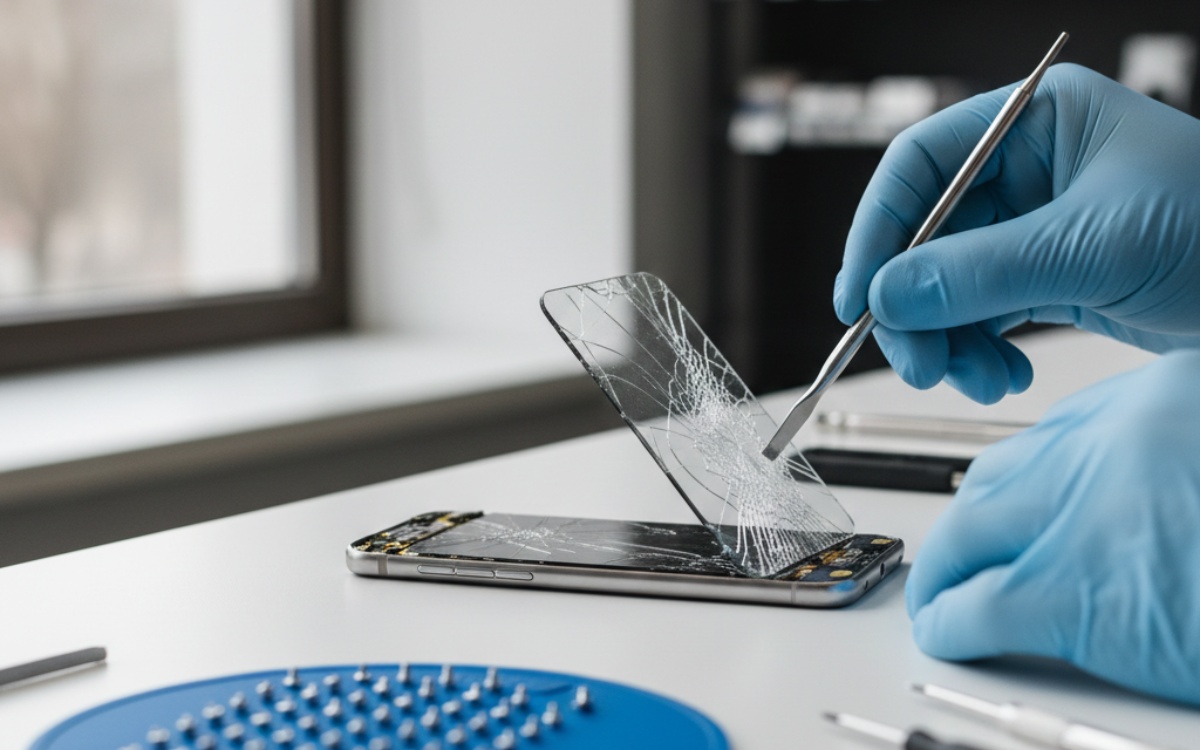
The Actual Repair Process: What to Expect
I’m not going to do a full step-by-step here because every phone is different. iFixit and YouTube have model-specific guides that are way better than anything I could write. But here’s what the process generally looks like and what nobody warns you about.
First you’ll power off the phone and remove the SIM tray. Then you’ll remove the back cover, which on modern phones usually means applying heat and carefully prying. This is where most people panic because it feels like you’re about to snap something. Go slow. The adhesive will give eventually.
Next comes disconnecting the battery. This step isn’t optional. I skipped it once and shorted something that made my phone randomly restart for weeks after. Disconnect that battery first, even if guides say it’s optional.
Then you’ll remove whatever components are in the way of the screen. On my Pixel this meant the wireless charging coil and a couple ribbon cables. On iPhones it’s usually the earpiece speaker and front camera assembly. Take photos at every step. I cannot stress this enough. Your memory is worse than you think it is.
The actual screen removal depends on your phone. Some have screws holding the frame. Others require heating the edges and using a suction cup to pull while you slide a pick around the perimeter to cut through adhesive. This part takes patience. If you rush, you’ll crack the frame or damage internal components.
Installing the new screen is mostly the reverse process. Connect the ribbon cables first and test that the screen works BEFORE you seal everything up. I’ve made the mistake of fully reassembling a phone only to realize the display cable wasn’t seated properly. Had to take it all apart again.
When you’re applying new adhesive, make sure everything is clean. Any dust or residue will cause gaps. The seal doesn’t need to be perfect for the phone to work, but it matters for dust and water resistance. Speaking of which, if your phone was water resistant before, it won’t be after unless you use proper adhesive and apply it correctly.
Common Mistakes That’ll Cost You
Let me save you from the expensive lessons I learned. Don’t forget to disconnect the battery before touching anything. Don’t mix up screws from different locations. Don’t force ribbon cables into their connectors because they only fit one way. Don’t skip the step where you test everything before final assembly.
And here’s the big one. Don’t attempt this repair if you’re tired, frustrated, or distracted. I tried fixing a screen after a long day at work once. Stripped two screws and cracked the replacement screen by being impatient. Wait until you have a clear head and a couple hours of uninterrupted time.
Also, some phones have serialized parts now. Apple’s gotten really aggressive about this. Replace the screen on a newer iPhone and you might lose True Tone or get nagging messages about “non-genuine” parts. Samsung does similar things. This doesn’t affect basic functionality but it’s annoying. Do your research on your specific model before buying parts.
For more about keeping your device running smoothly after repairs, check out our smartphone performance tips.
When It’s Time to Throw in the Towel
Sometimes the repair goes sideways and you need to know when to stop. If you’ve cracked your replacement screen, if you’ve damaged the motherboard or ribbon cables, if the phone won’t power on after reassembly, or if you’ve stripped screws that are now impossible to remove, it might be time to take it to a professional or consider it a learning experience.
I killed a phone once by being too aggressive with a prying tool. Punctured the battery and it started smoking. That was terrifying and expensive. Don’t be me. If something feels wrong, stop and research before continuing.
Real Talk: Is It Worth It?
After fixing several screens myself, here’s my honest take. If you’re curious about how electronics work and want to save money on future repairs, absolutely try it. The first one will be stressful but you’ll learn a ton. If you just want your phone fixed and don’t care about the experience, pay someone else. Your time and stress matter.
I fix my own screens now because I’ve done it enough times that it’s easy. But I still pay professionals for more complex repairs like charging port replacements or water damage recovery. Know your limits.
And look, maybe this whole experience will convince you to take better care of your phone in the first place. A decent case costs $20 and a screen protector costs $10. Way cheaper than any repair. I finally learned that lesson after breaking screen number four. Check out our smartphone accessories guide for recommendations that’ll actually protect your device.
Final Thoughts
Screen repairs are way more accessible than repair shops want you to believe. But they’re also not quite as simple as YouTube thumbnails make them look. If you’re patient, follow instructions carefully, and buy quality parts, you can absolutely fix your own phone and save a bunch of money.
Just maybe practice on an old device first. And for the love of everything, disconnect that battery.
Want to make sure your repaired phone lasts? Read our tips on smartphone security to keep your device protected after you’ve invested time and money into fixing it.
This article is part of our comprehensive guide on Smartphones and Mobile Technology. For everything you need to know about mobile devices, check out the full guide.